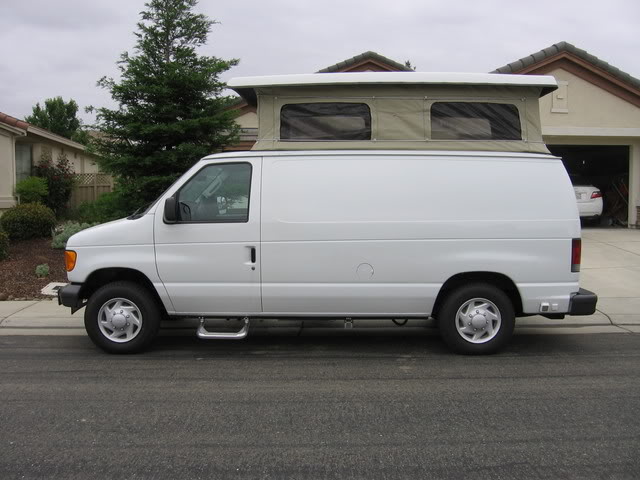
Terry's 2007 Ford E150 Econoline van with Sportsmobile top
I bought the 2007 Ford van new, in late 2007 with the following Factory Options
installed:
4.6 L V8
Trailer Tow Package
Power Door Locks
Power windows
Remote Key less entry
Cruise control
power mirrors
I selected the Ford van over Chevrolet because of the much cheaper cost of the
this Ford van.
I selected the Sportsmobile top over the GTRV top primarily because of build
scheduling. I went to Sportsmobile Texas instead of Sportsmobile Fresno
because, Sportsmobile Texas would install a garagable top on the van, and
Sportsmobile Fresno would not. After I negotiated a early date with
Sportsmobile Texas, it only took Sportsmobile Texas a day and a half to install
the top. Normally it takes a day, but, because I was getting a low profile
powered top, it took more time.
See Yahoo Groups / Sportsmobile_owners group / "Files" / "Terry's 2007 Ford Construction" folder / "Ford Van Parts List.PDF" file for A list of Parts that I purchased.
As is indicated in "Ford Van Parts List.PDF" file, I purchased several parts from Sportsmobile as follows:
door catches, hinges, battery rack, inlet power cord & connectors, Penthouse
bed, hoop steps, and, of course, garagable "powered" top.
Note - I did not install a propane system, nor a furnace, nor a cook top in
this van. I have found that I do not cook inside. I use a portable 1 burner
stove for heating water. I have, previously had propane furnaces; but, I have
never used them in the van. I do have a portable electric heater. Without
any propane appliances, I had no need for a propane system.
A list of tools that I used in converting the van is as follows: Circular saw,
table saw, saber saw, belt sander, in line sander, "Kreg" pocket hole jig,
electrical drill, screw driver bits, Forsner bits, various clamps, soldering
gun, 48" guide for cutting plywood, 4 metal saw horses, and 4' x 8' x 1/2"
press board used as a layout table.
I started work on the van, in earnest, in early February 2008, right after I
got home from Texas. I did do a little work before the trip. I finished the
conversion in late May 2008.
The first things that I did was remove the back and side door thrush holds in
the van.

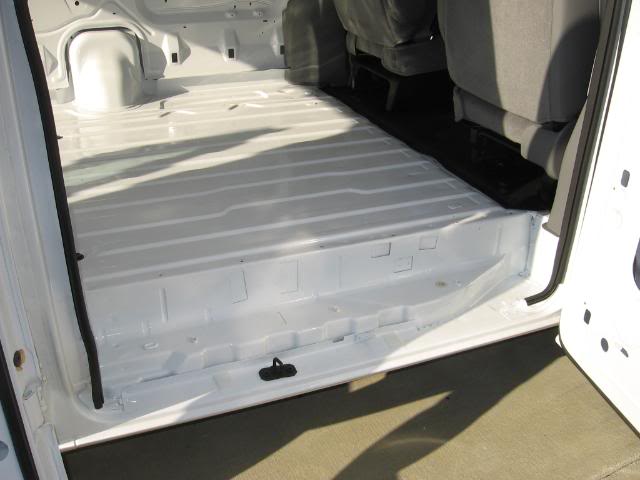
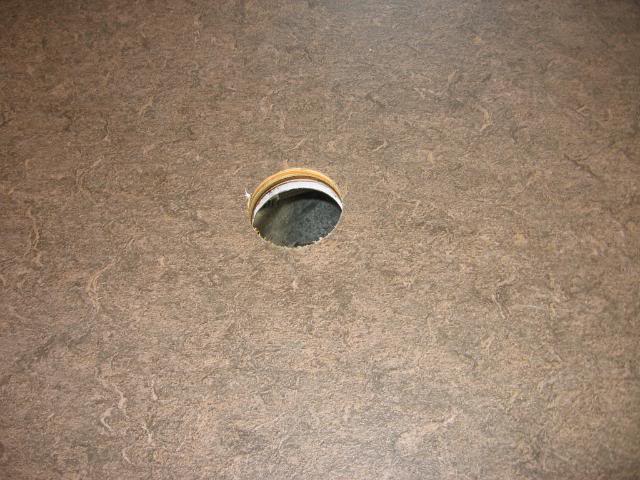
I then removed the jack mounting hardware.
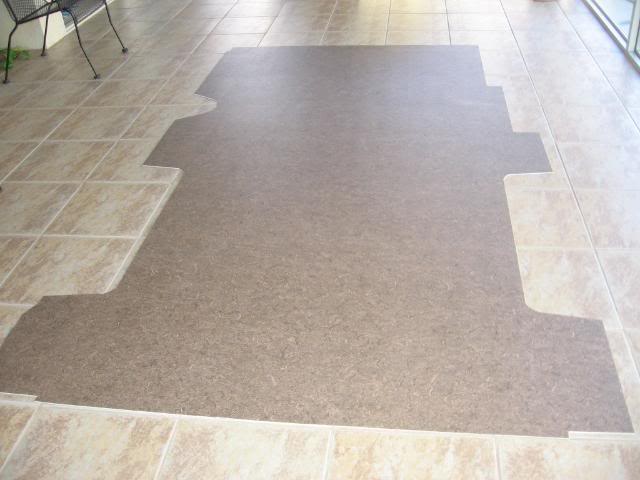
I made a pattern/template out of heavy paper for the plywood sub-floor and
the vinyl floor.
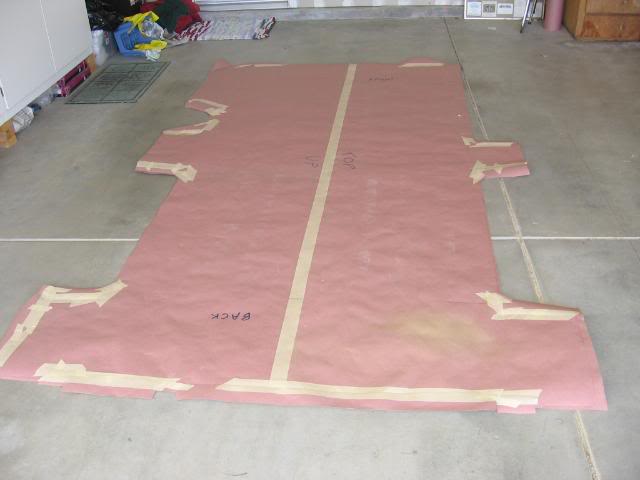
I then cut the 15/32" plywood flooring using the pattern/template.
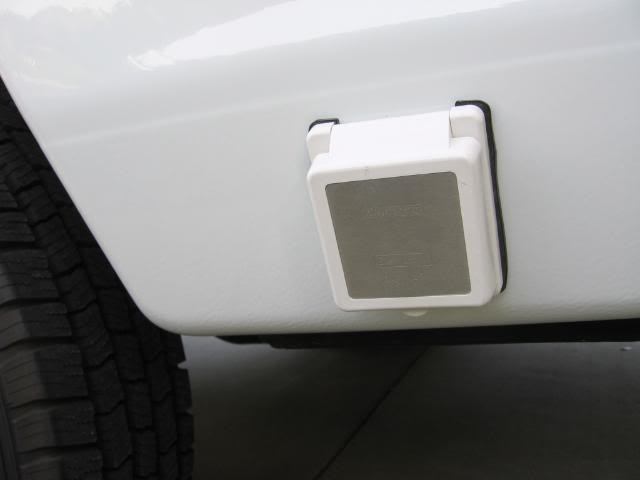
I installed a 100 Amp circuit breaker under the hood wired to the chassis
battery.
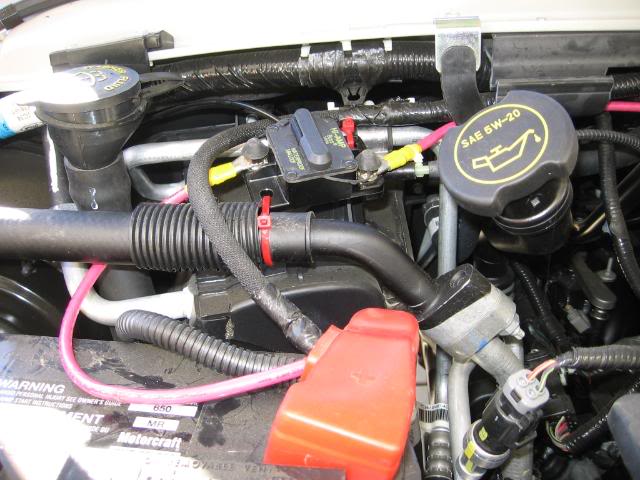
I then brought the other end of the electrical
wire to inside the van at the gas fill area.
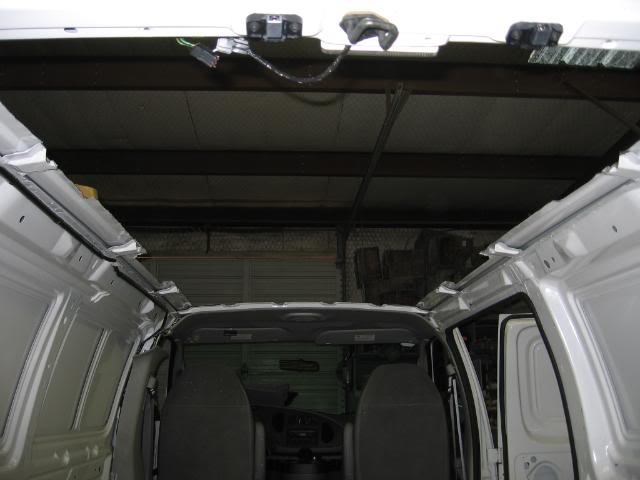
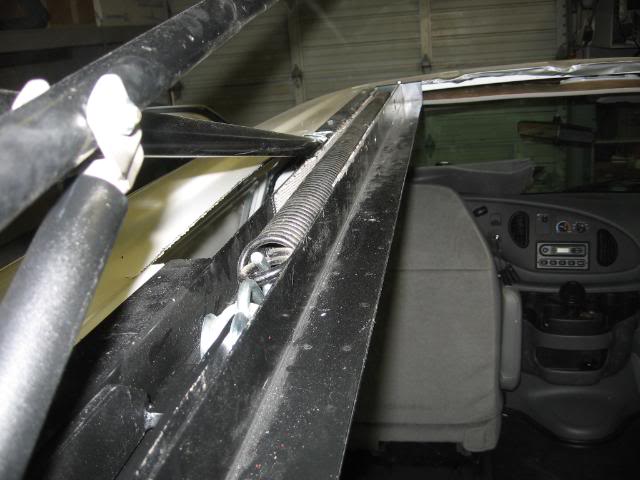
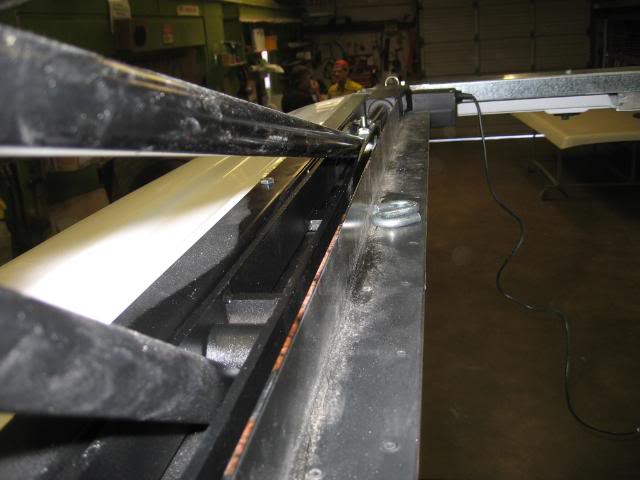
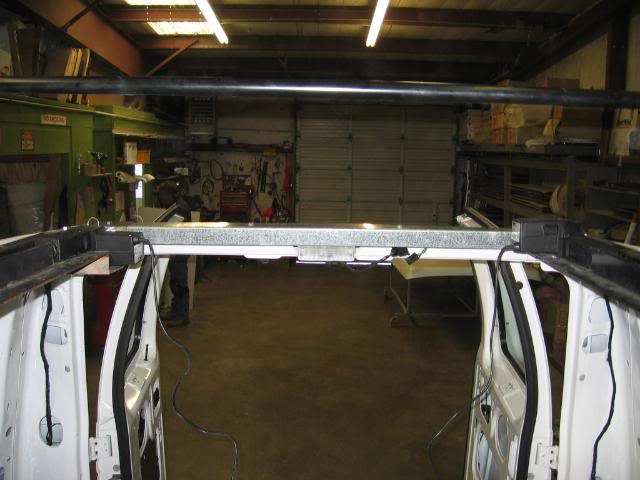
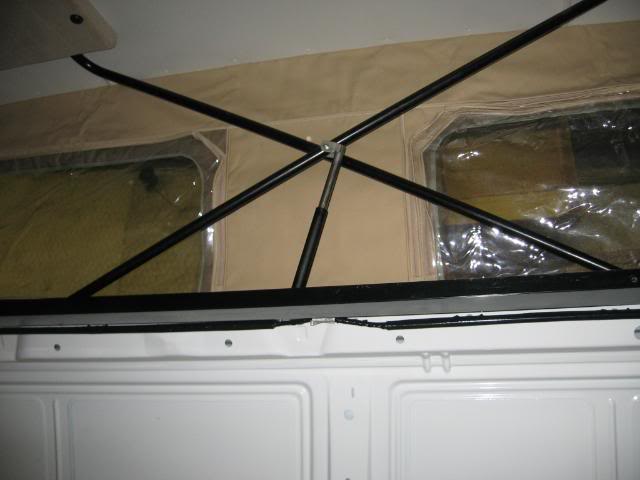
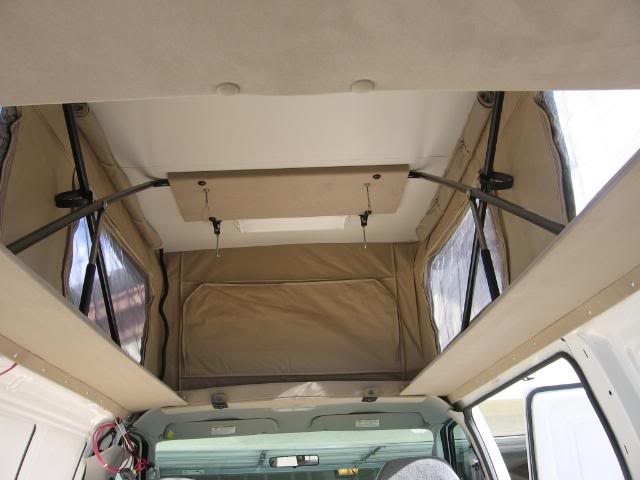
Sportsmobile installed Penthouse top, and temporarily connected power from
powered roof control switch to electrical wire at inside gas fill area. This
allows me to raise and lower the top during construction.


I then planned the wiring. See Yahoo Groups / Sportsmobile_owners group / "Files" / "Terry's 2007 Ford Construction" folder / "FORDWIR.PDF" file for the wiring schematic.
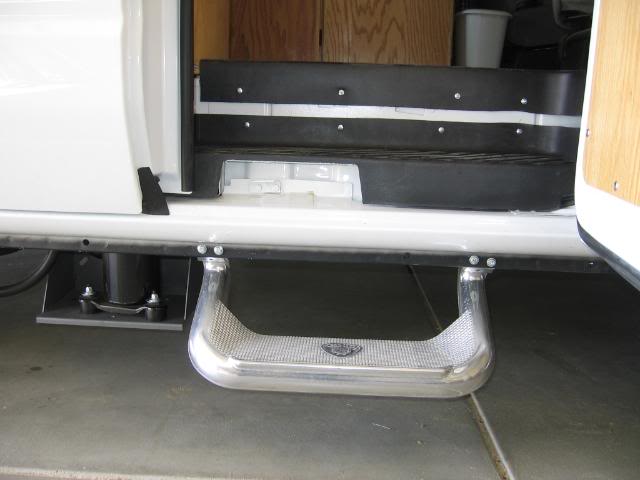
I then installed the step hoops.
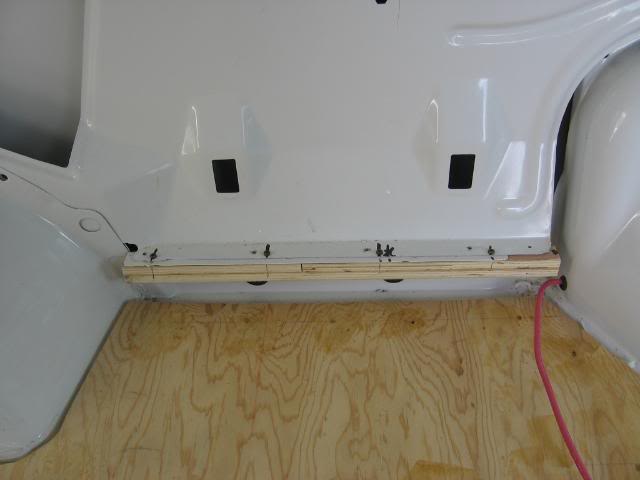
I then installed the 15/32" plywood sub-floor.
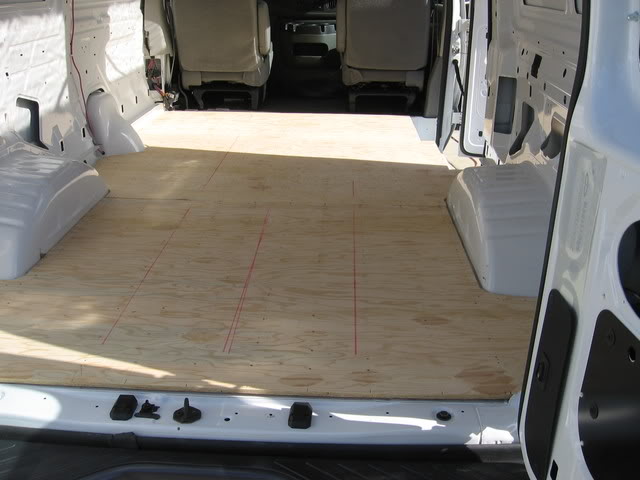
I attached the
plywood to the van sheet metal floor using construction adhesive and
approximately 250 1" x #6 flathead sheet metal screws.
Cut Vinyl flooring.
Design interior layout. See Yahoo Groups / Sportsmobile_owners group / "Files" / "Terry's 2007 Ford Construction" folder / "FLORDING6.PDF"
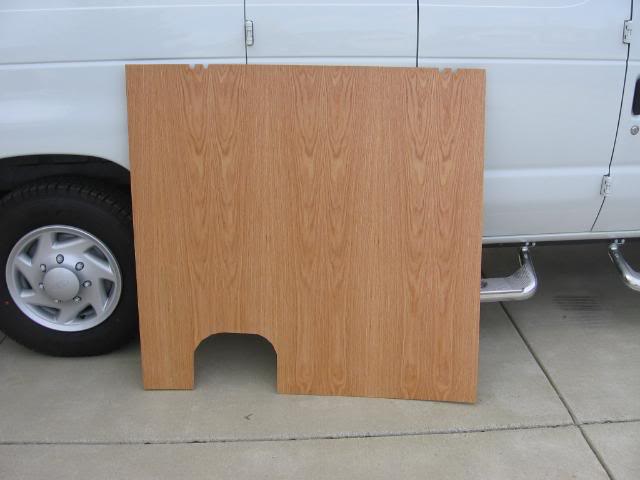
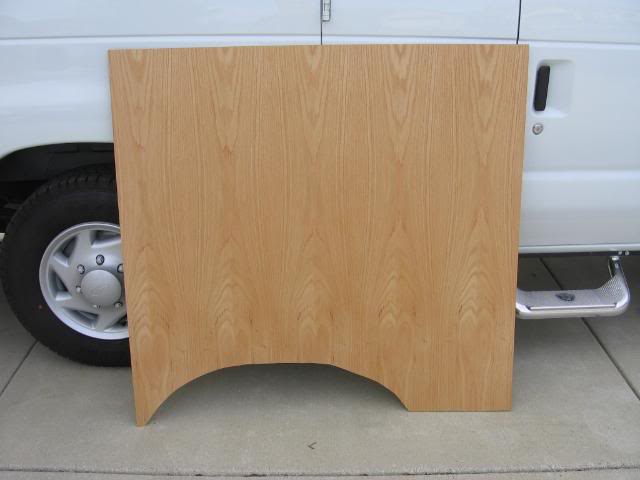
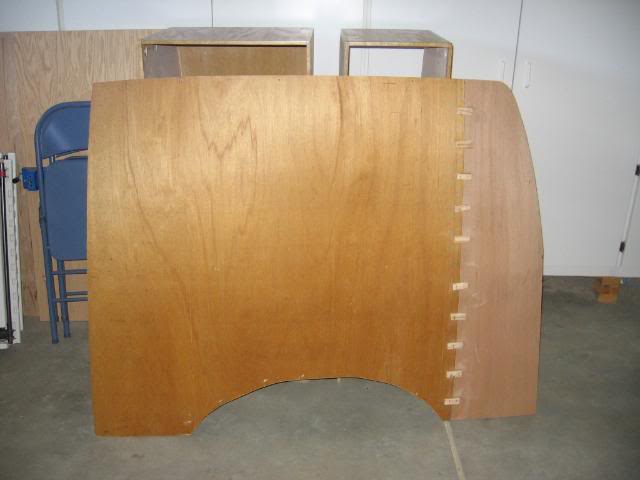
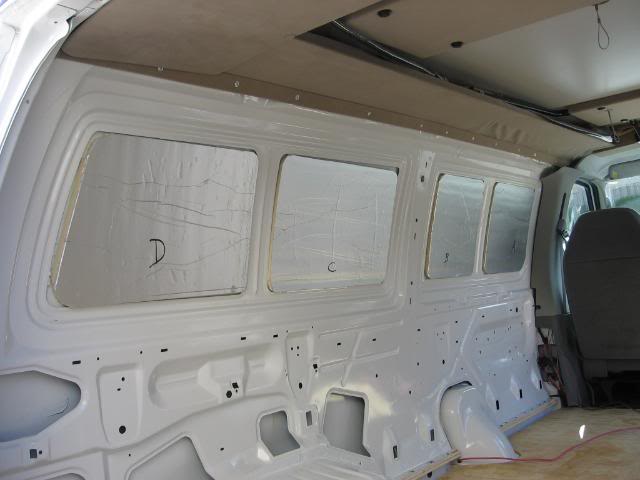
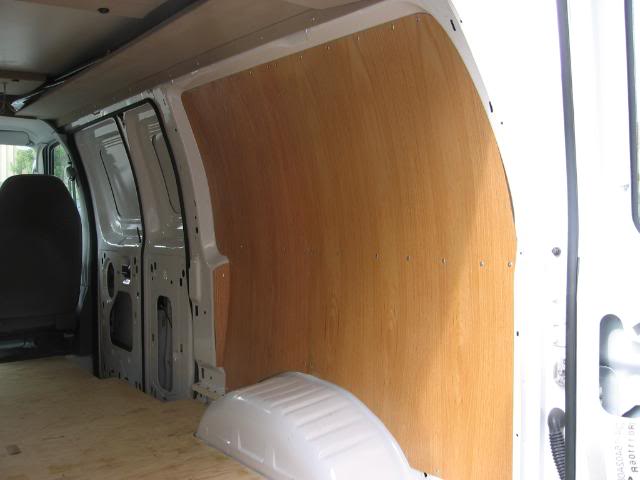
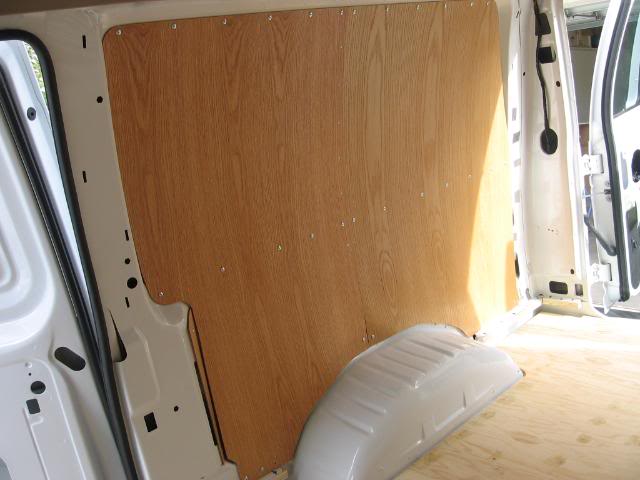
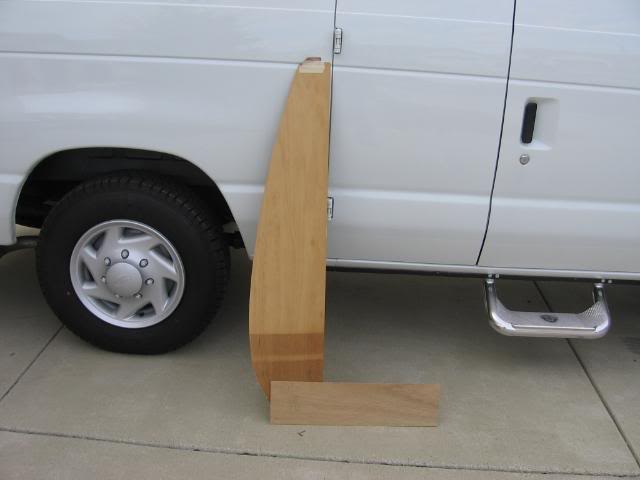
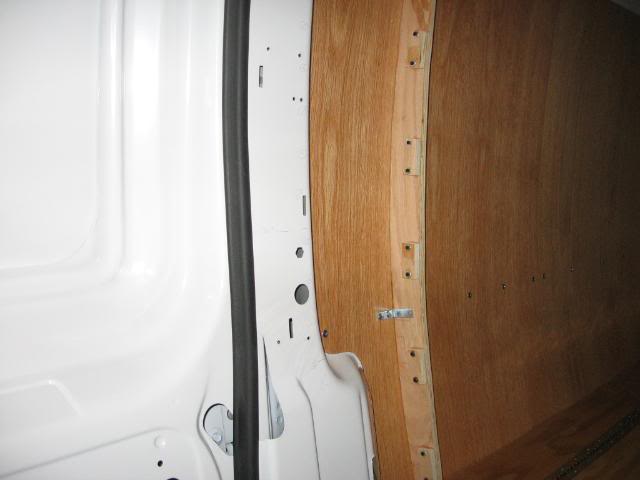
Make patterns for side walls.
Cut out driver's and passenger's side 3/32" Oak plywood walls.
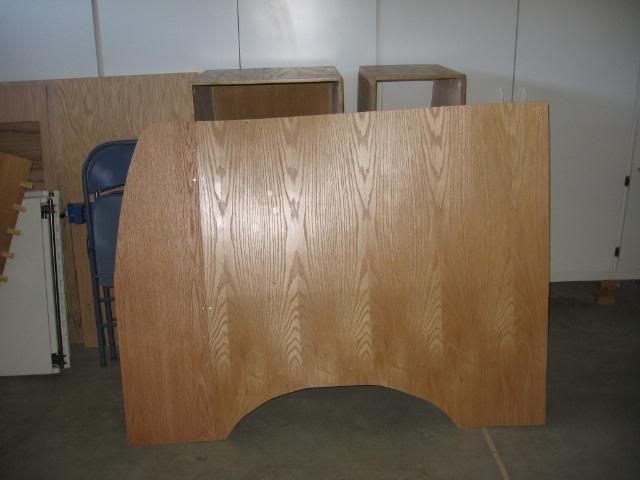
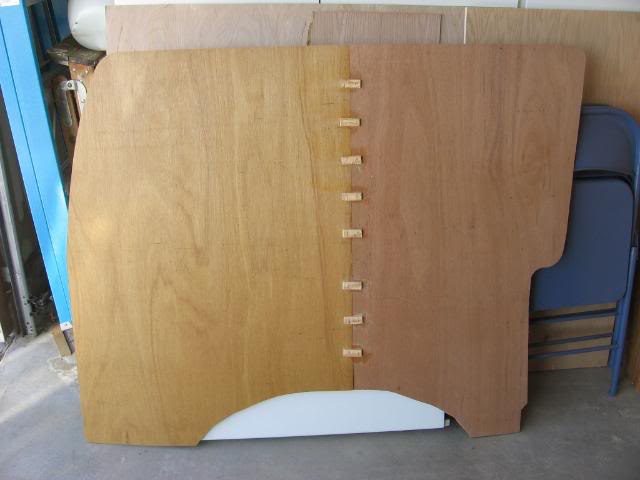
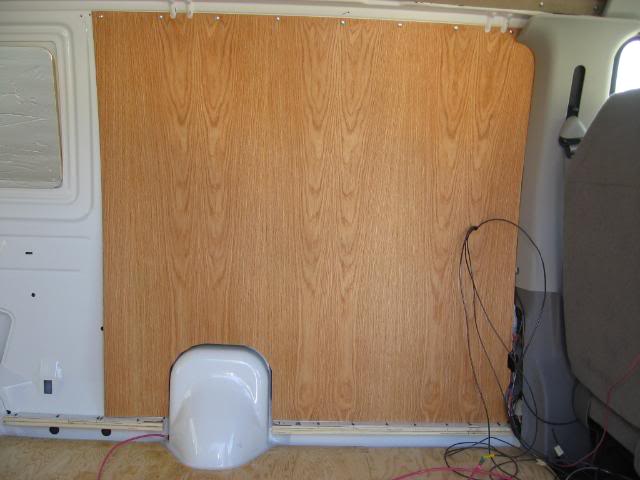
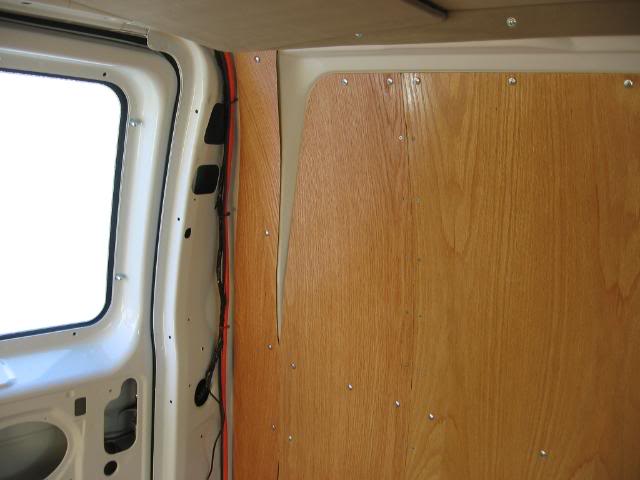
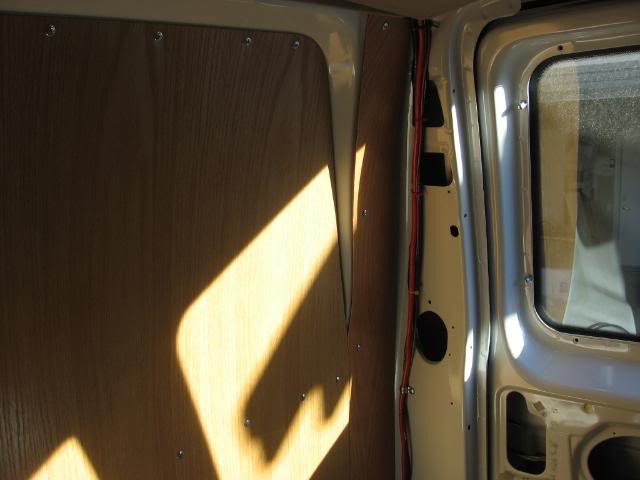
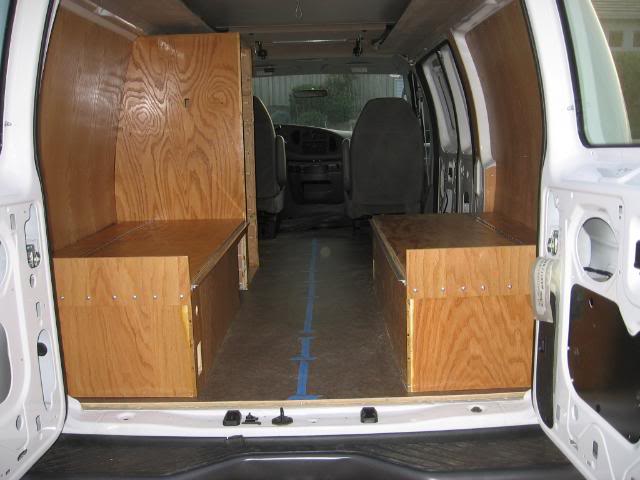
I painted all Oak paneling and plywood with Verathane Satin.
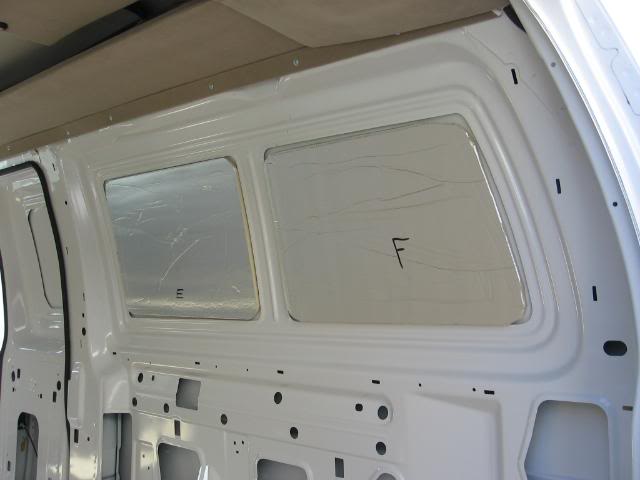
Install foam & fiberglass insulation.
Install all walls.
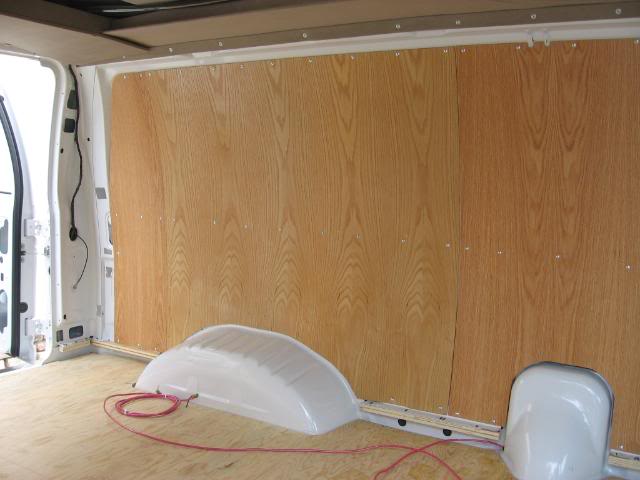
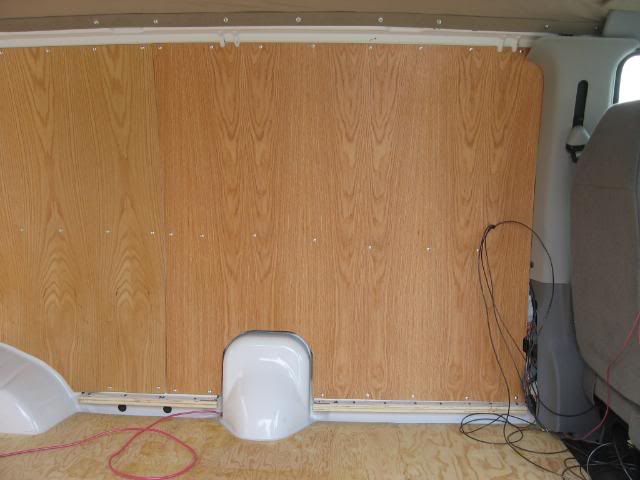
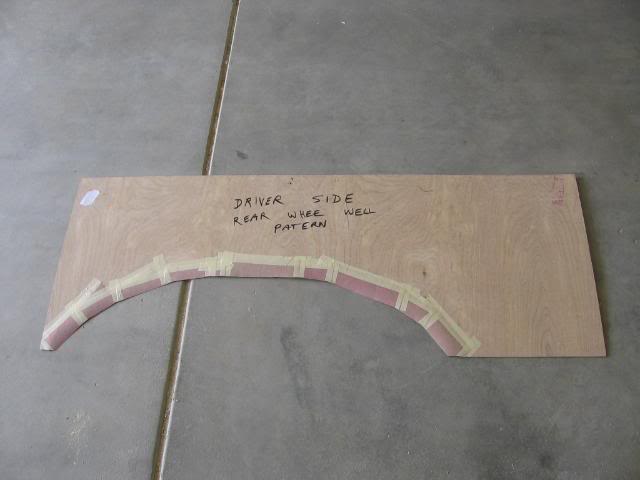
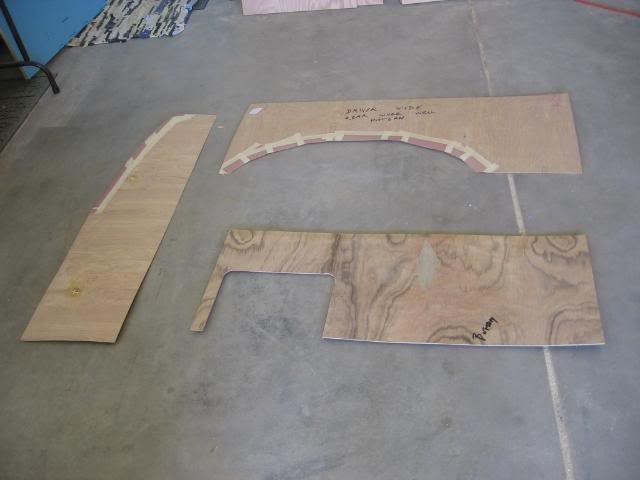
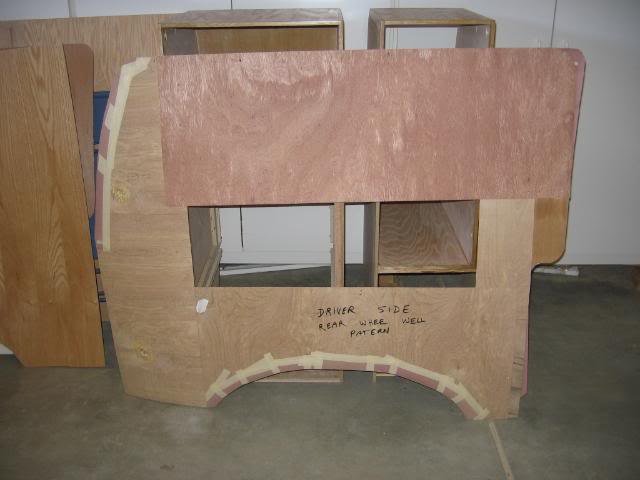
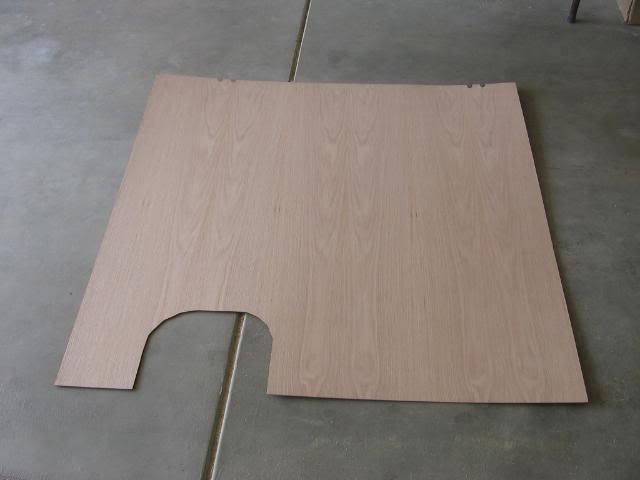
Make patterns for rear side & rear wall panels.
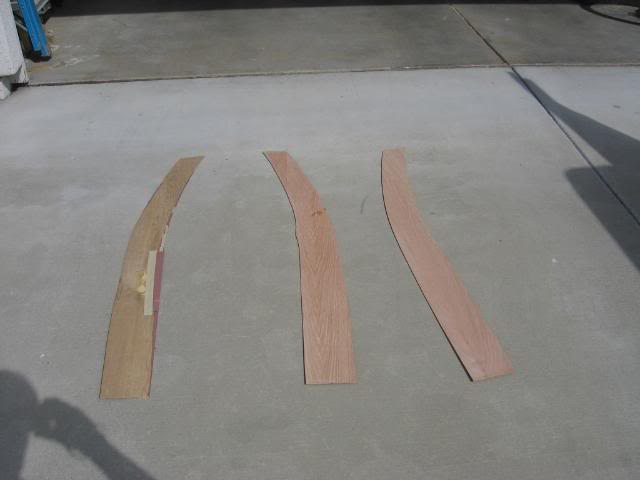
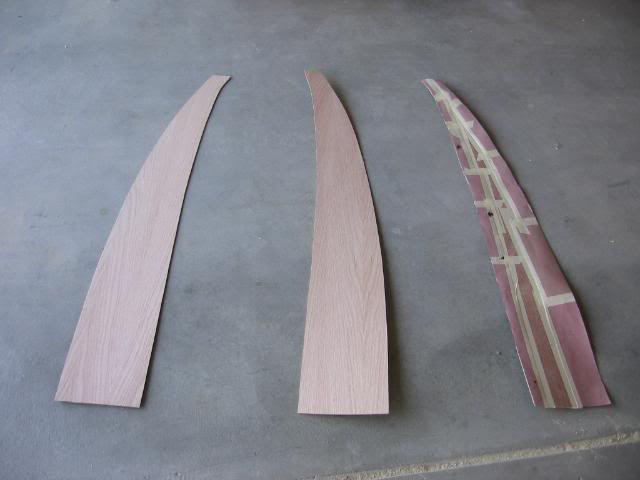
cut out, paint, & Install rear side & rear panels.
wire roof wiring for 110ACV, 12 DCV, from drivers side to passenger side.
wire rear light to passenger side.
Install vinyl flooring. I used double sided tape at front back door and side door.
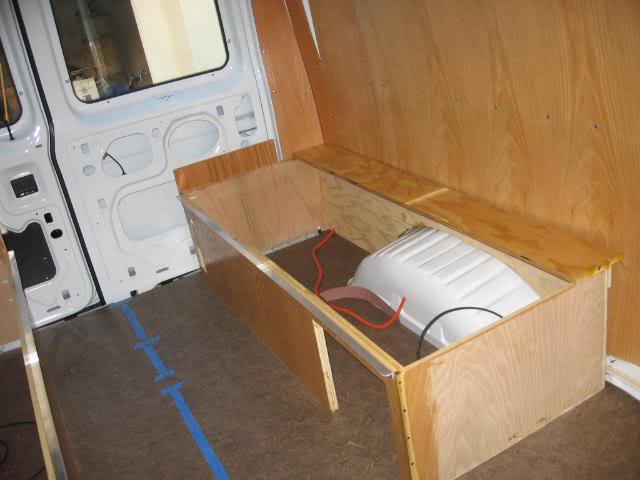
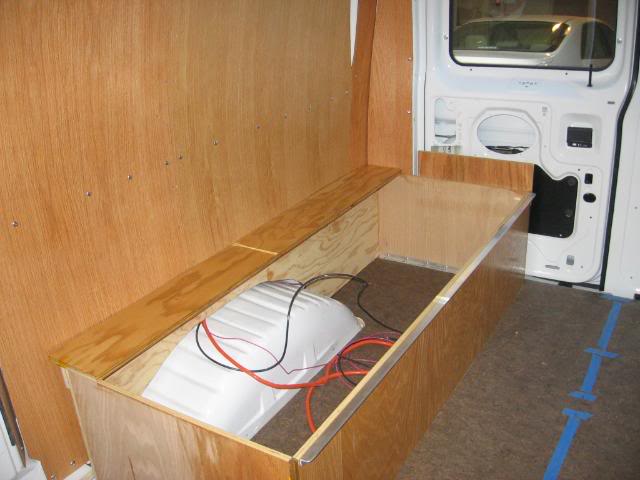
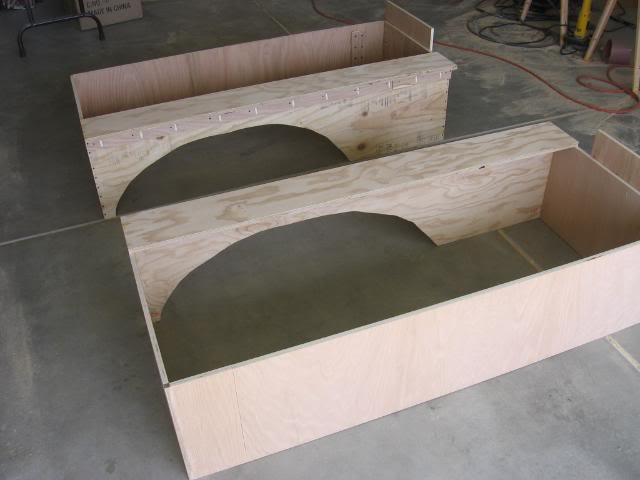
Make pattern for bench seats.
I used the "Kreg" pocket hole jig and screws for fastening all bench seats,
cabinets, and doors.

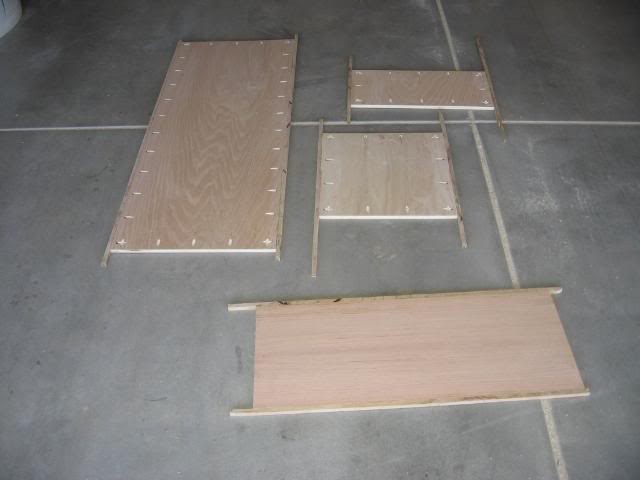
In addition, I used
wood glue for all joints.
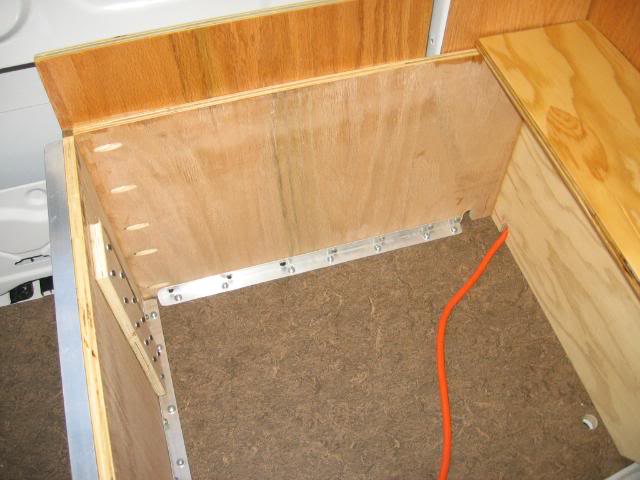
Build bench seats. I used 15/32" Oak plywood for sides.
Install bench seats.
Install outside 110ACV input.
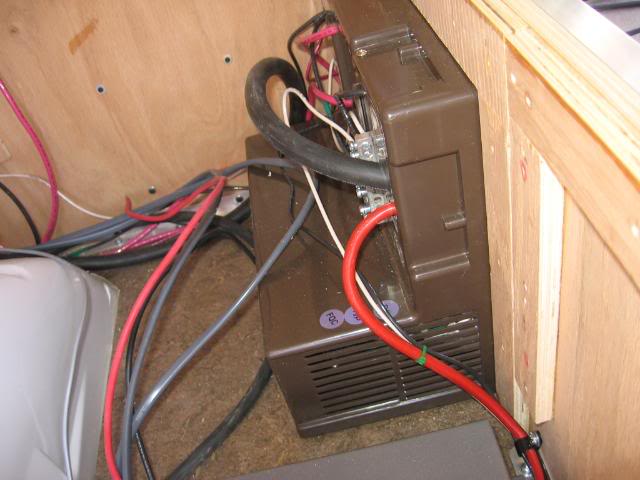
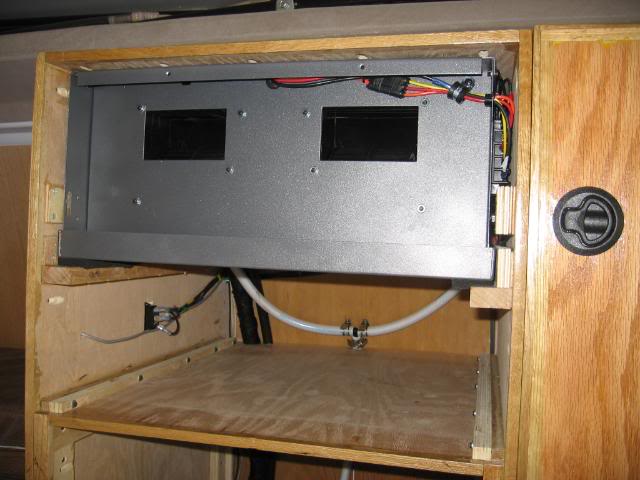
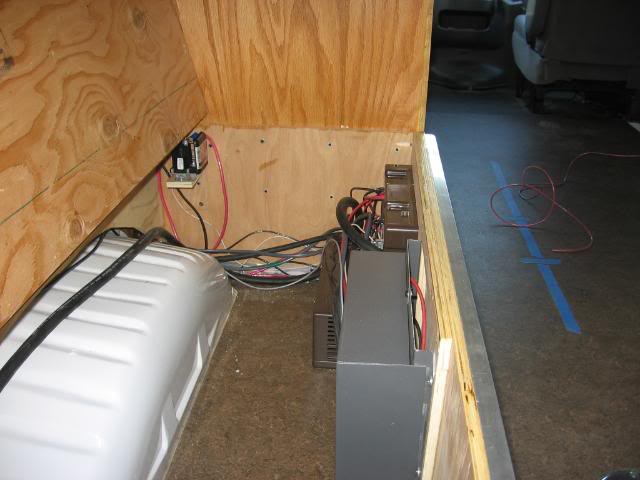
Install converter.
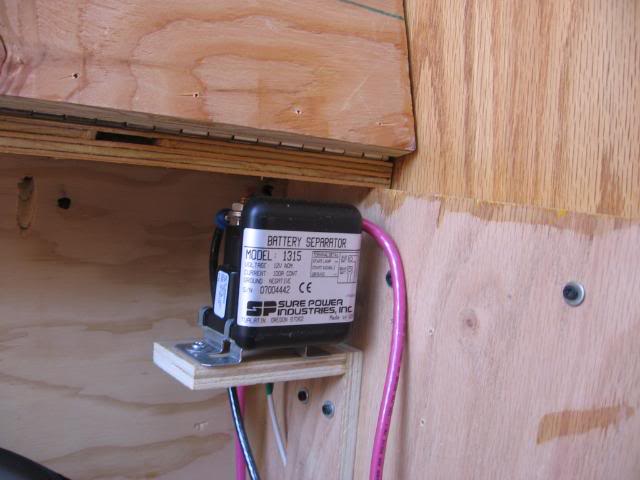
Install battery separator on drivers side, under bench.
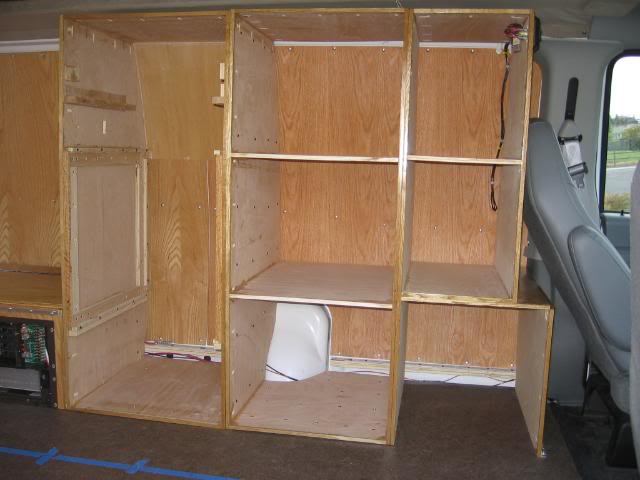
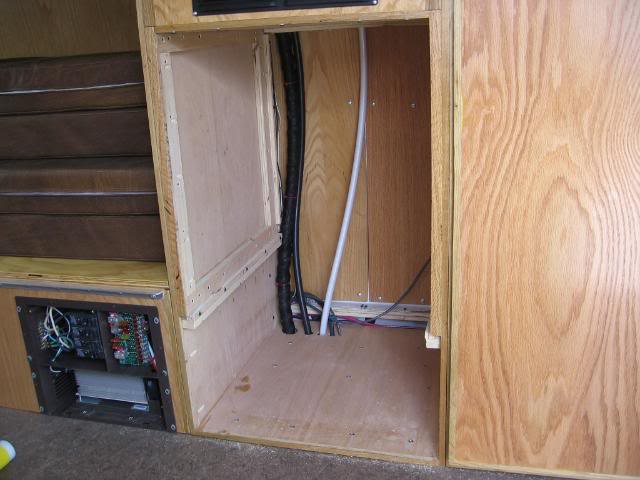
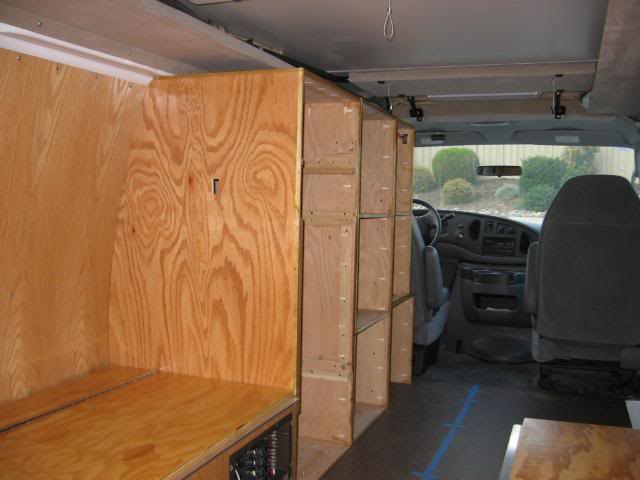
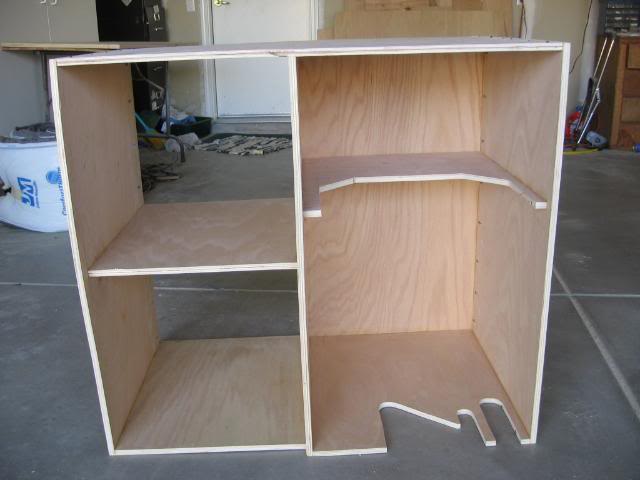
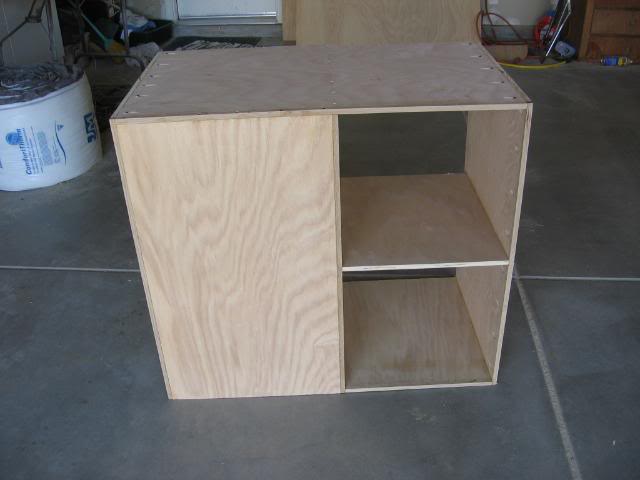
Design drivers-side rear, front, and middle cabinets.
See Yahoo Groups / Sportsmobile_owners group / "ACREF2.PDF" , "MIDCAB.PDF" , AND "POTTI3.PDF" for drawings of these cabinets.
I then made a template/pattern for cabinet sidewalls.
I then made the 15/32" Oak plywood cabinet sidewalls.
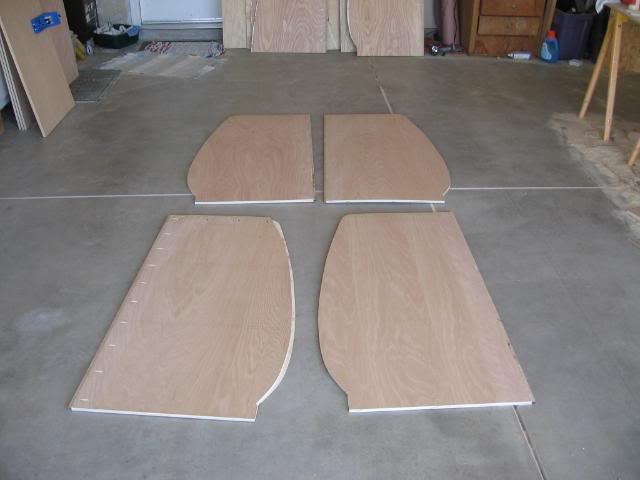
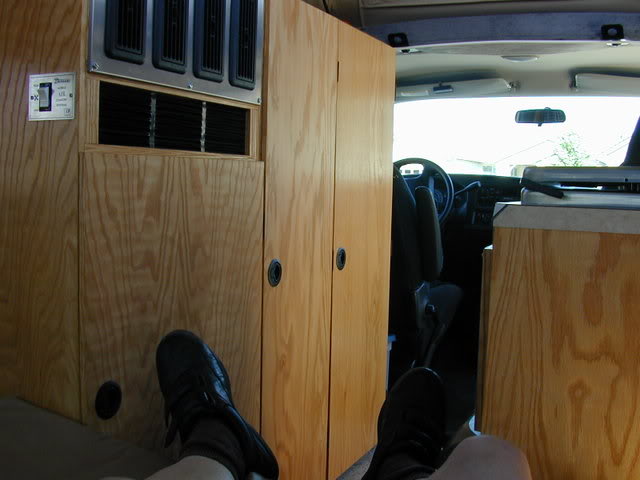
Make the three drivers side cabinets.
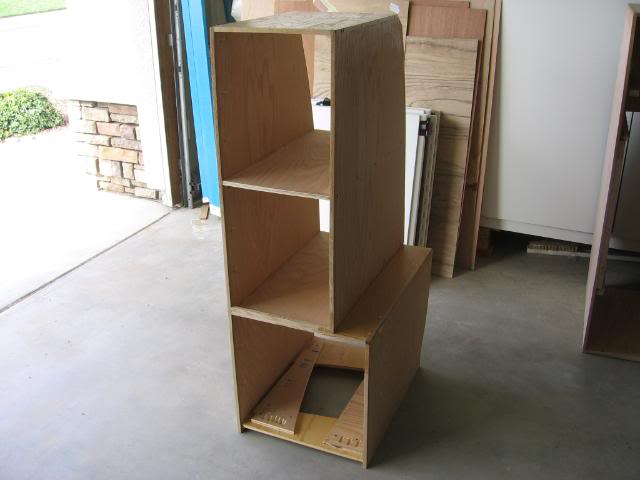
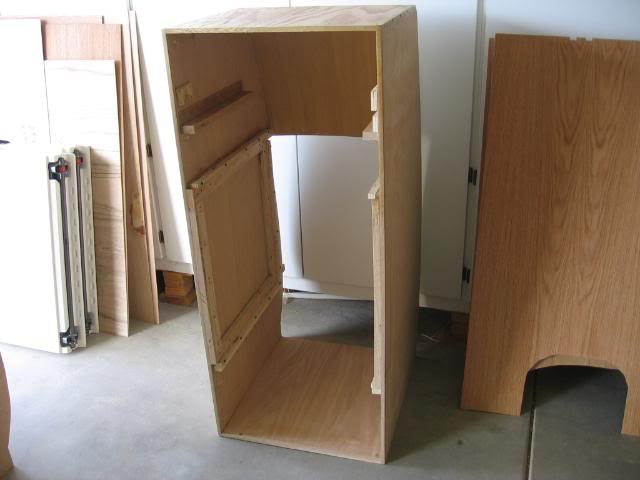
Install the three cabinets.
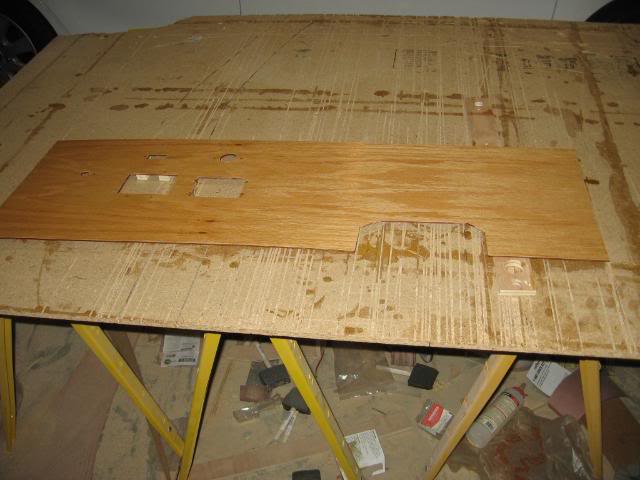
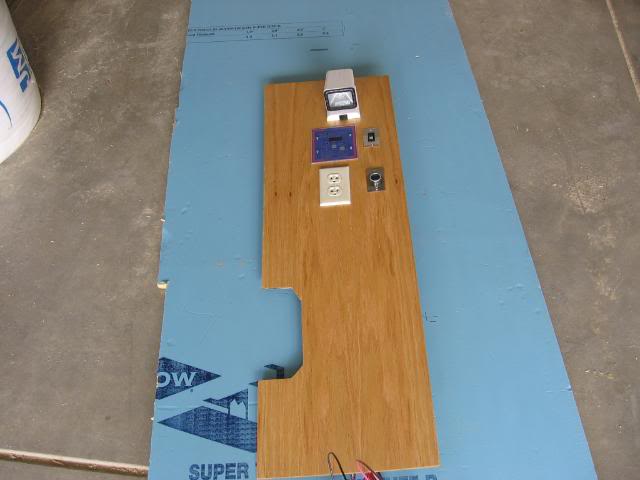
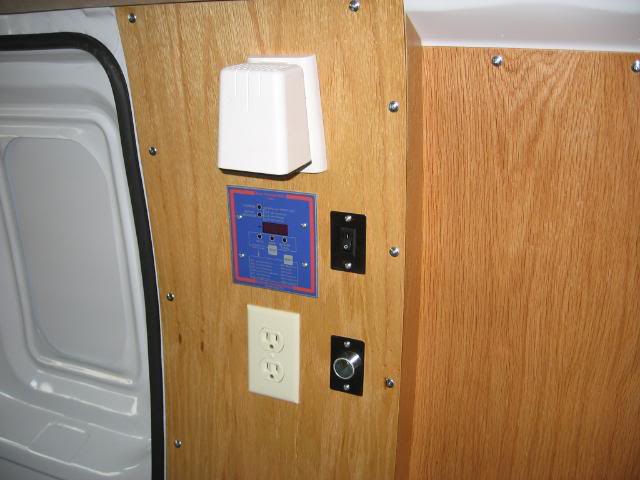
Make template, cut out & install passenger side mount for battery meter, 12dcv
receptacle, 110 ACV receptacle, & pump switch.
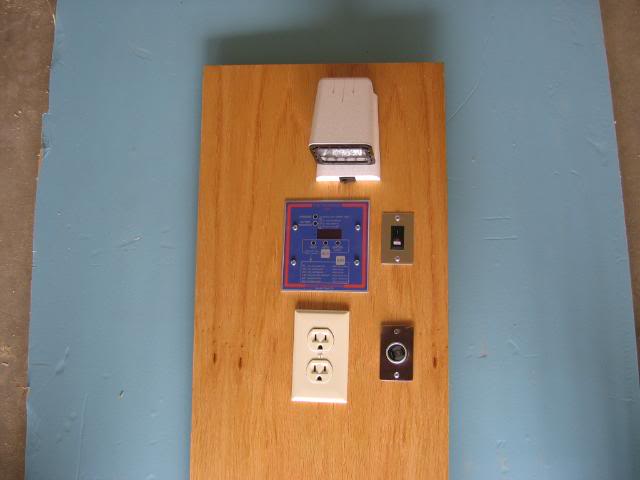
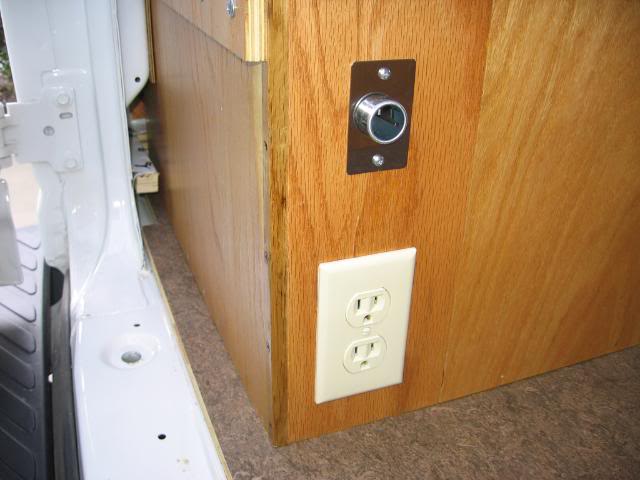
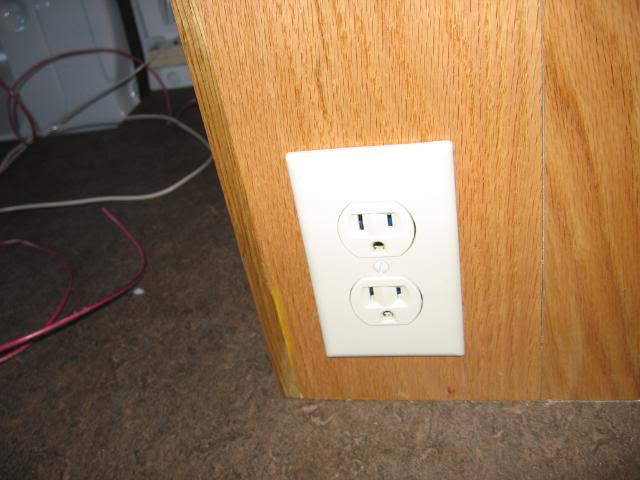
Install 110acv receptacle & 12 dcv receptacle in drivers side bench. Install
110acv receptacle in passenger side bench.
Wire drivers side AC inlet, 110acv receptacle, DCV receptacle, front light,
converter, battery separator.
Wire passenger side AC receptacle, DCV receptacle, light, trimetric meter,
water pump.
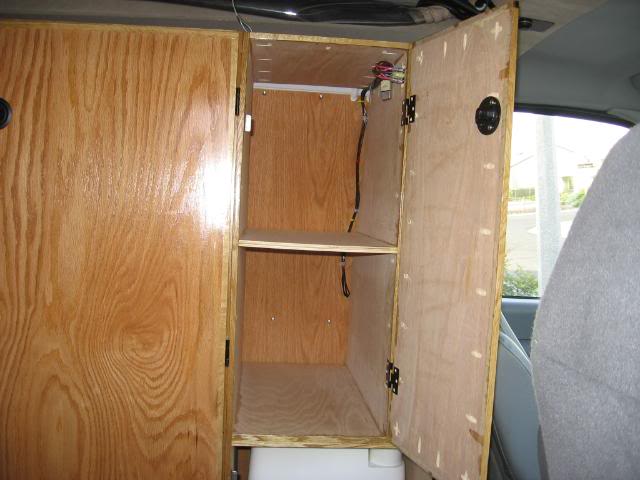
Make cabinet doors.
Another technique that I have used to
finish edges of the Oak plywood is to use a very thin veneer oak with glue on
one side.
This looks better than the 1/2" x 1/2" oak edging that I used on
this van.
install drivers side cabinet doors.
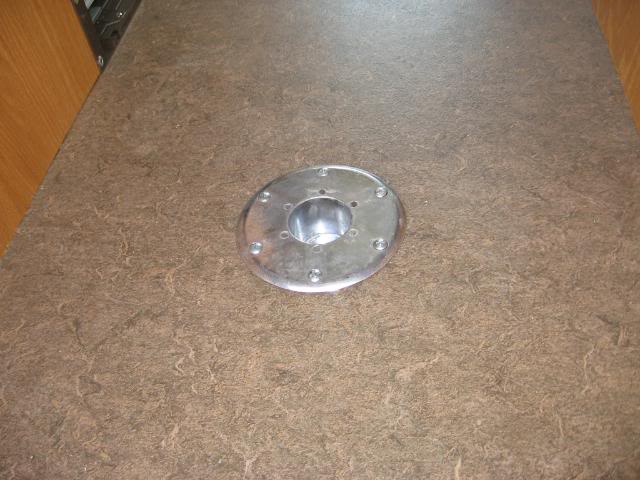
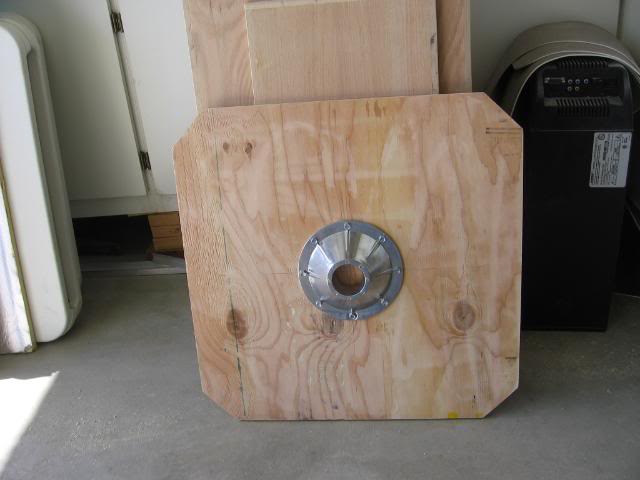
Install floor pedestal plate.
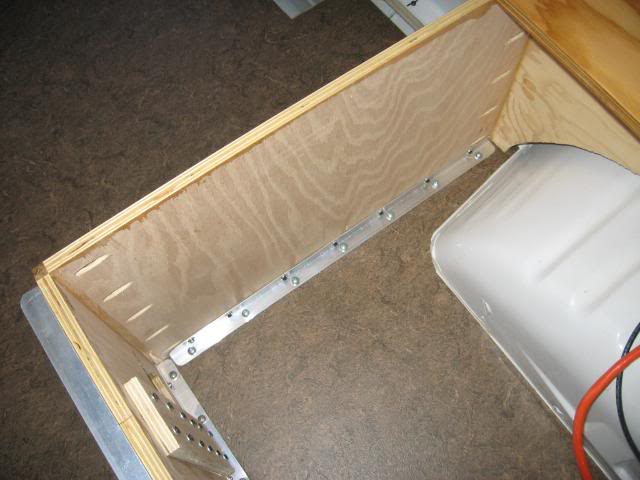
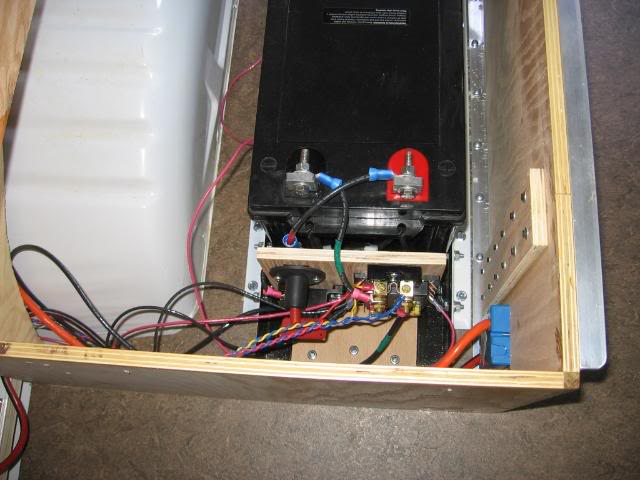
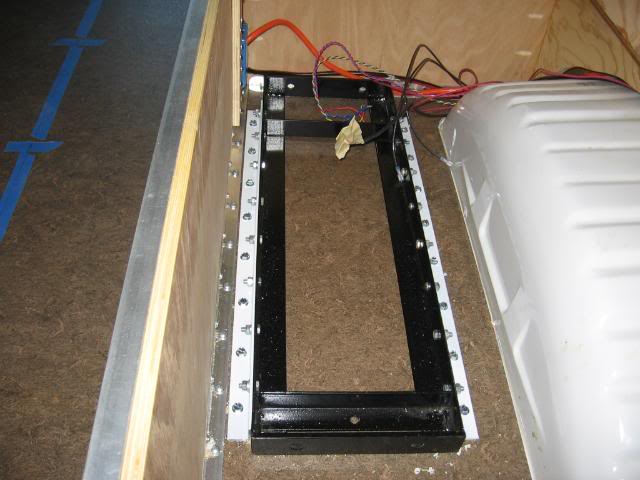
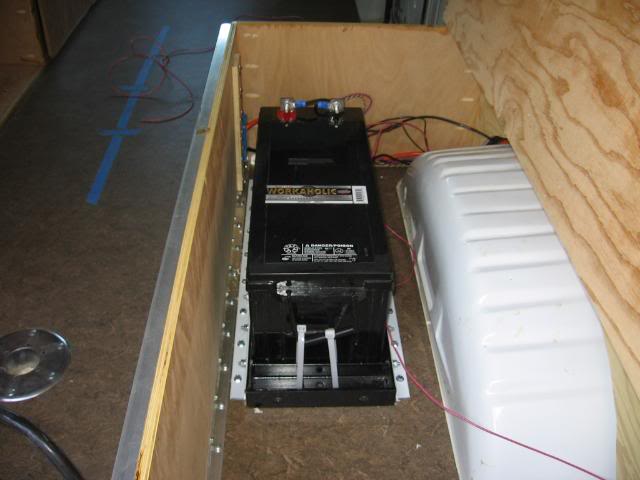
Mount battery rack.
Install 4D AGM battery.
Complete passenger side electrical.
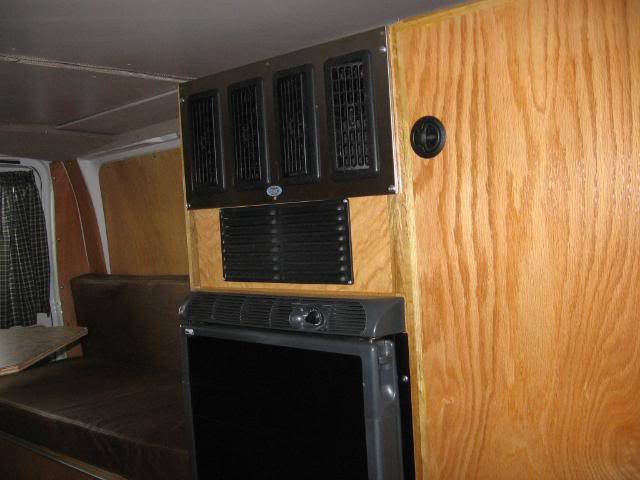
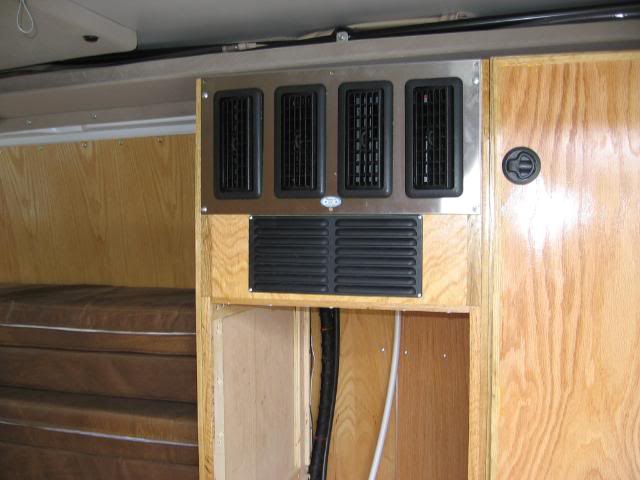
Install "Danhard" Air Conditioning Condenser.
Install A/C Compressor.
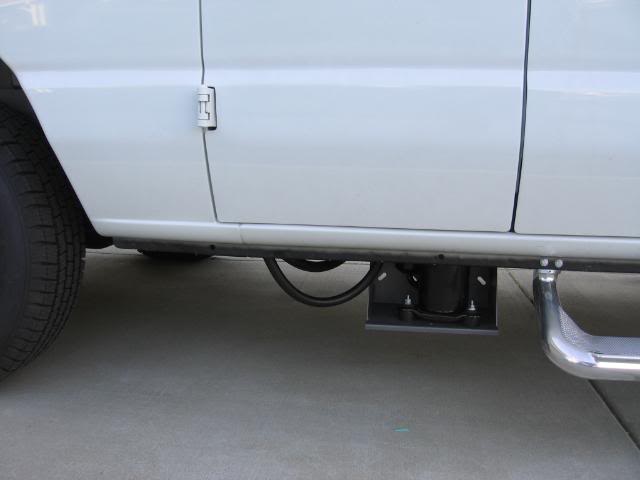
Install A/C Accumulator.
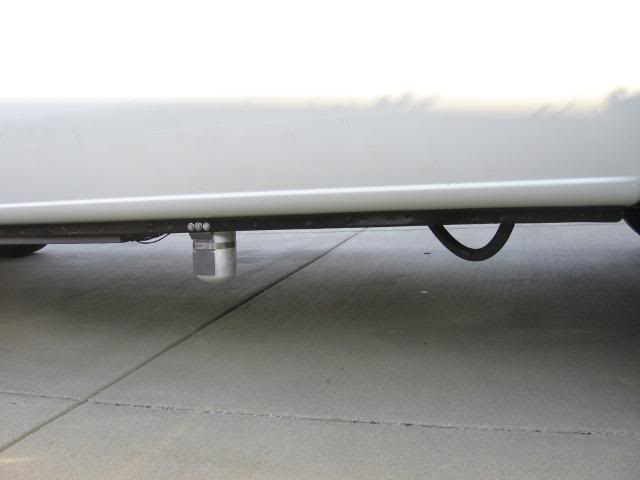
Install A/C hoses.
Install A/C Evaporator.
Install A/C Controller.
Wire A/C switches, thermostat, controller, compressor, evaporator, condenser.
Charge A/C
Install A/C trim
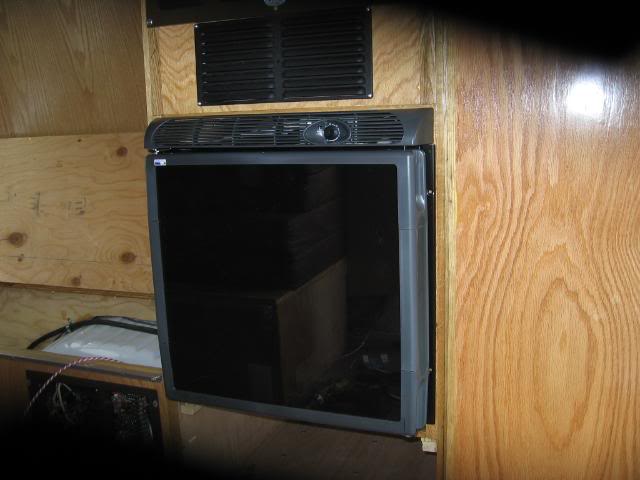
Install refrigerator.
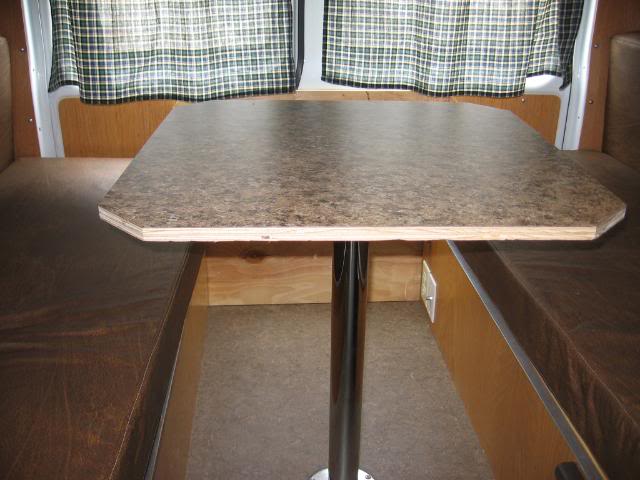
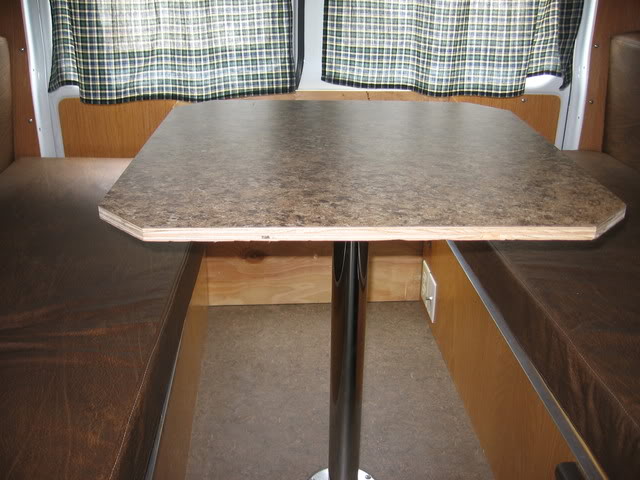
Build table & additional plywood to make up bed.
Design Passenger side cabinet. See "Yahoo Groups" / "sportsmobile_owners"
Group / "Files" / "Terry's 2007 Ford Construction" folder / "SINK1.PDF" file
Build Passenger side cabinet.
Install Formica on cabinet, table top, and additional plywood to make up bed.
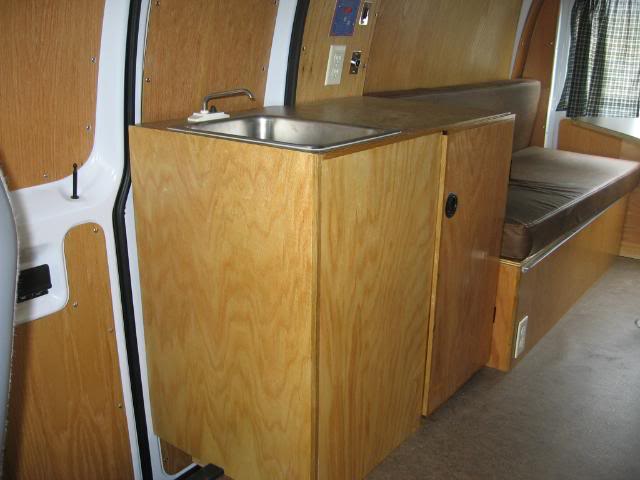
Install water system.
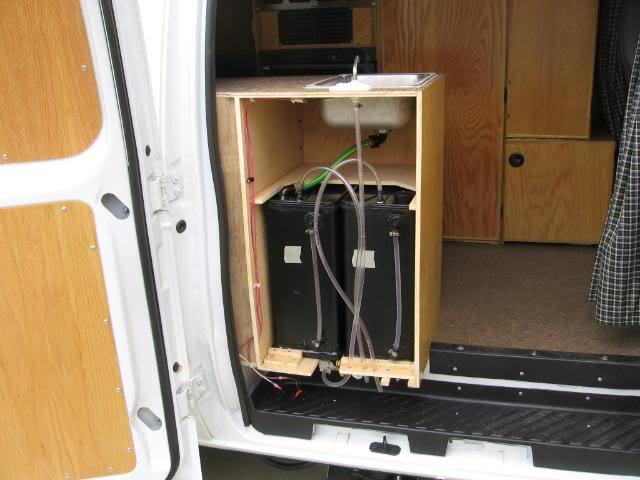

See Yahoo Groups / Sportsmobile_owners group / "Files" / "Terry's 2007 Ford Construction" folder / "WATER.PDF" file for drawing
of plumbing connections to tanks.
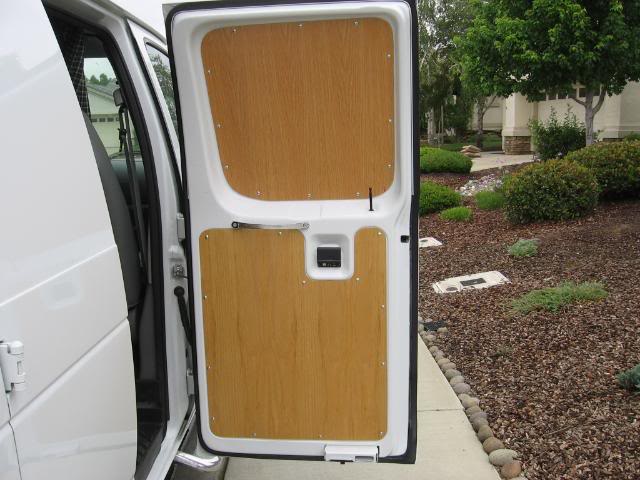
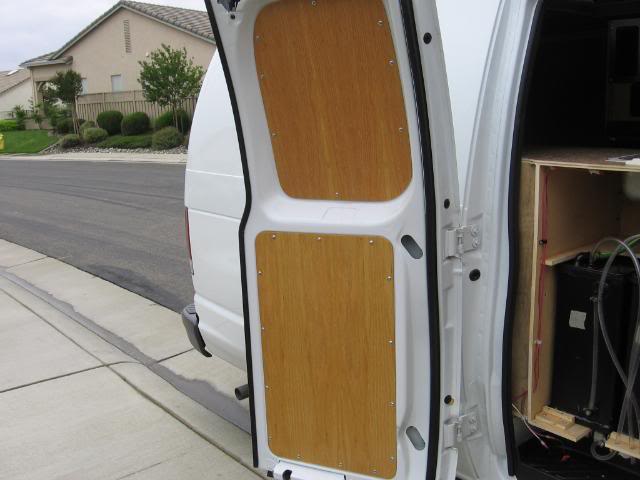
Build door panels.
Install foam and fiberglass insulation in doors.
Install door panels
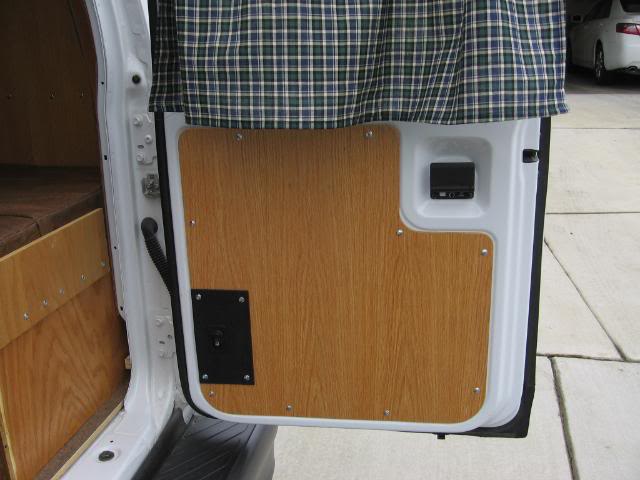
Install side door threshold.
Make and install curtains.


 Linear Mode


