I was specifically asked;
Quote:
|
... mentioned that you got rid of the horrendous air can trash canister intake on the Chevy. did you make any posts on this or do you have pictures or information you could share? I played around with mine a little bit but didn't really see any quick easy options.
|
Yes, there are no quick and easy options. But there are options. The air filter canister is integrally designed into the entire air intake system on my Chevy 2500. And, without a doubt - it takes up a lot of space!
I did a lot of research on various approaches. Here are some I looked at:
replaces some of the existing parts with a simple (reusable filter in "about the same place." Hood clearance was a detractor. But it could be relatively simple, some creative piping and improve the intake air.
This one is an inverted snorkel"
it might fit in the space over the top of the radiator and down - but complicated tubing, means complex airflow in the intake and the radiator intake it might block.
A more direct air intake increases the amount of open filter space, reusable filters, but again a lot of real estate:

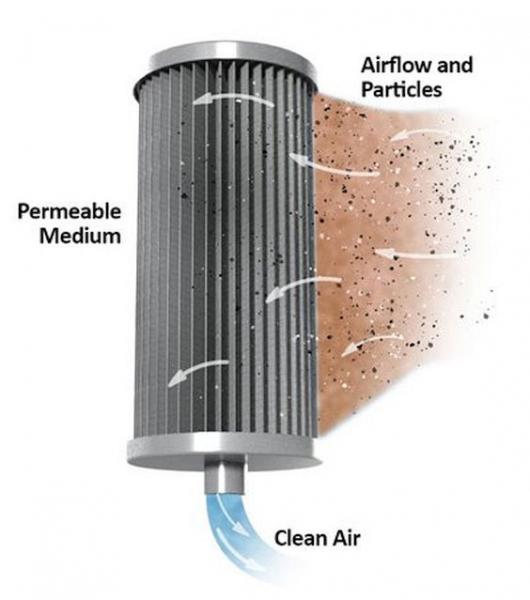
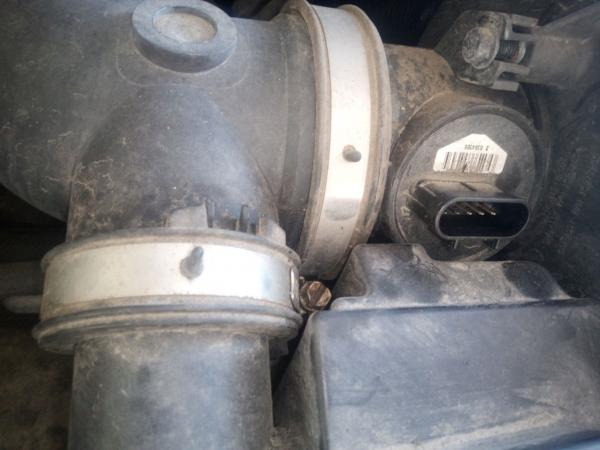
Here is a comparative picture of the filter that is located in the canister:
I settled on what maybe the simplest, but it relied on a number of other steps.
I might fit it over the top of the radiator, but if not there were "things in the way."
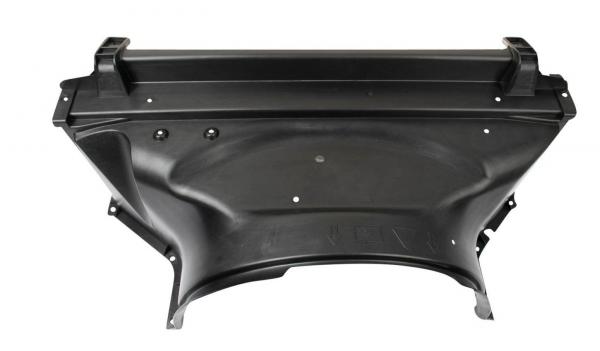
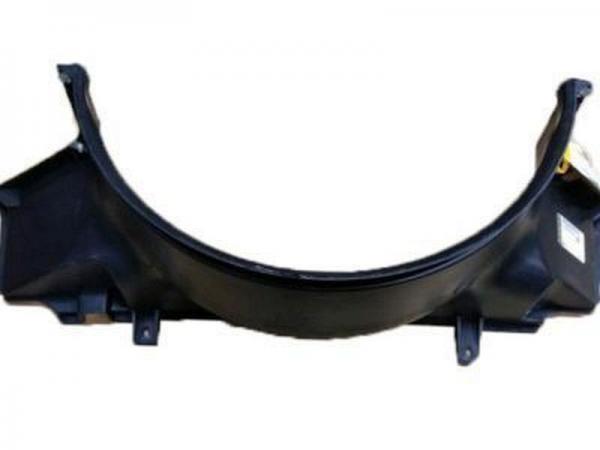
The stock Chevy air intake system is secured to the radiator shroud. Want to move or change the air intake you have to deal with that. And that of course, includes the engine fan. I had previously settled on replacing the mechanical/engine driven fan with a set of electric fans.
So that became the first order of business. The fan is inside the shroud, but the shroud is in 2 parts, so it is relatively easy to remove.
Removed the upper portion and set aside.
Then I tackled the fan itself. You can buy a tool to facilitate this job:
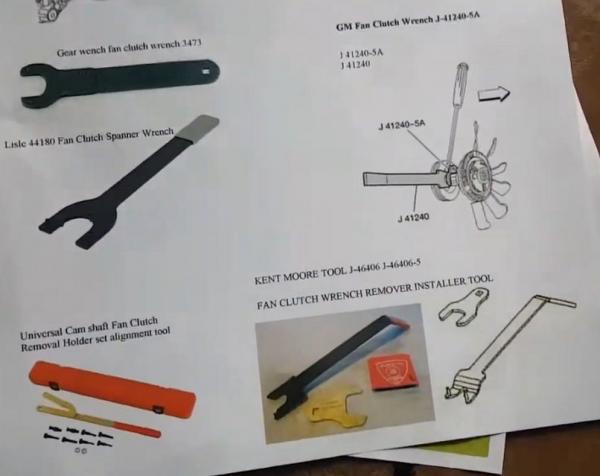
Or, Improvise. Here you can see an improvised Spanish Windlass to hold the fan, while undoing the nut securing it in place. It was then a simple spin-off and it was out of the way.
Next removed the lower section of the shroud: shown here.
With these items out of the way I could tackle the other engine bay projects,
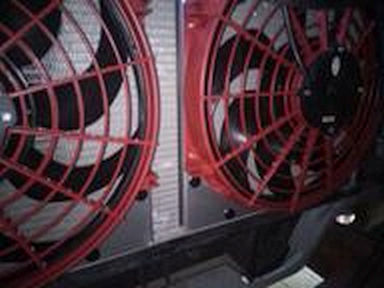
First, I installed the 2 Stage 4 FF Dynamics Radiators." (shown here installed)
I cut the top section of the upper shroud along the dotted line." I would use it to secure the odd bits and pieces later. It is a plastic, so an easy job with a jig/saber saw. No picture - but you can imagine the cut-line in the picture shown earlier.
And here you can see some of the uses for the top-most section of the shroud.
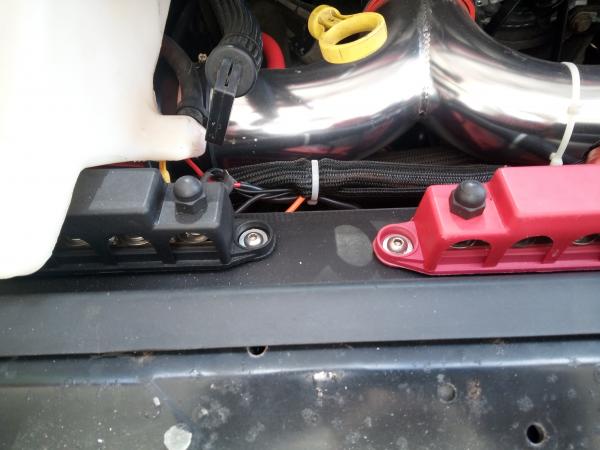
Those two 400 Amp bus bars are available for a variety of uses; windlass/winch, fog/driving lights, etc.
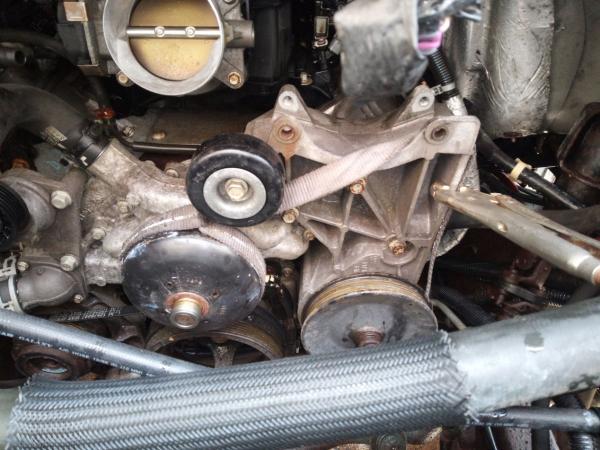
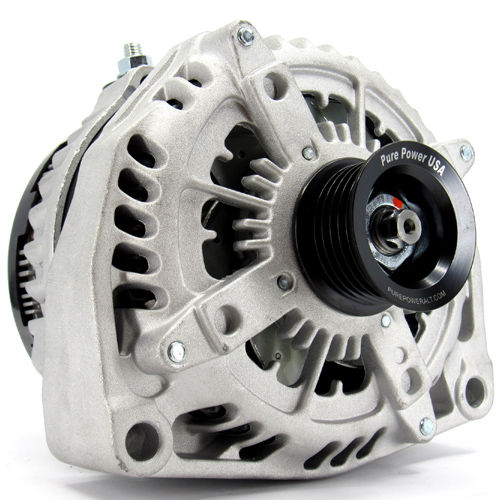
Next, I removed the stock alternator and replaced with my new 420Amp alternator. With the fan and shroud out of the way, installing the alternator and the electric fans was a piece of cake.
Also reinstalling a (new) belt was greatly facilitated., as would any replacement in the future (if required).
My nest order of business was complete all the wiring changes required. New wires (the Big3: to Starter, Start Battery, Ground), and naturally the cables going aft to the House Bank.
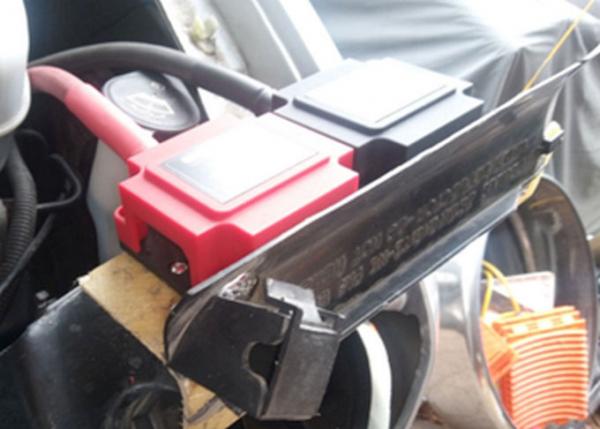
I used 2 smaller (400Amp) bus bars as a Jump for the cables that run aft to the House Bank and B2B. I located those in the "safe space"
over the ECU. Some fabrication and some effort - but all in place.
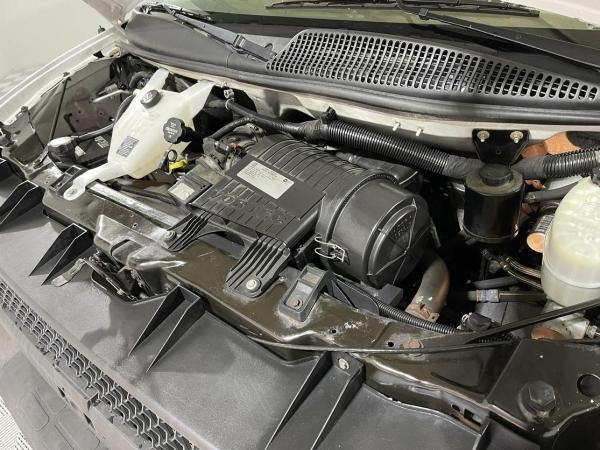
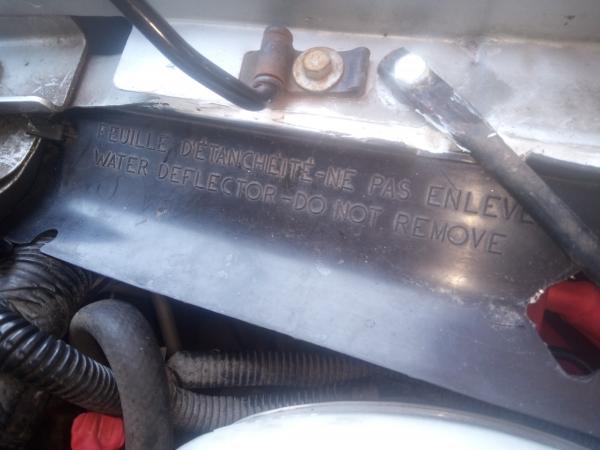
With the space opened up (removed radiator shroud and fan, the air intake options were several. The stock Chevy replacement air filter is around $20-$25, and not reusable.
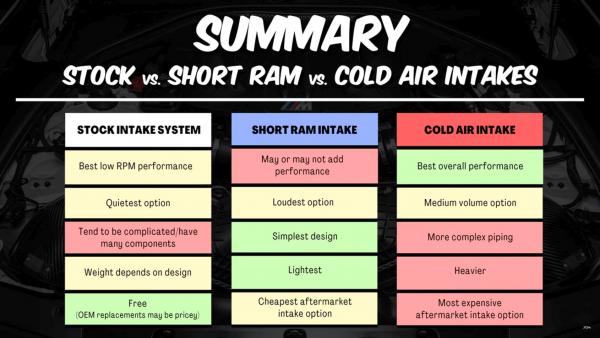
I designed a Cold Air Intake, and a Short Air intake system to replace the stock setup. Why a CAI? Here is a simple table to consider:
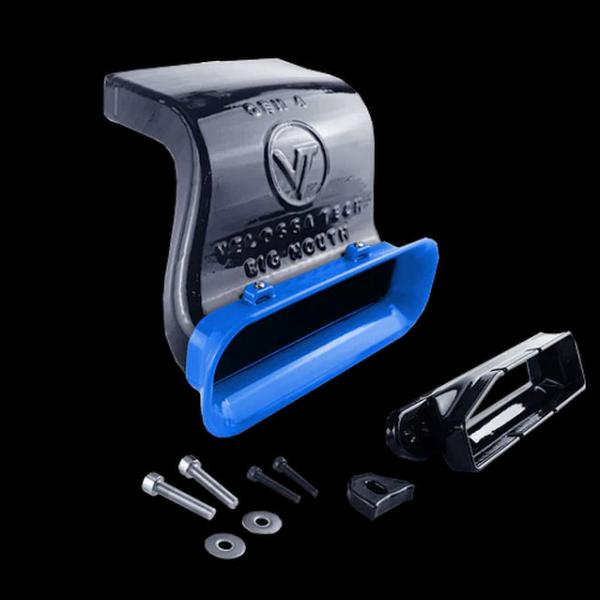
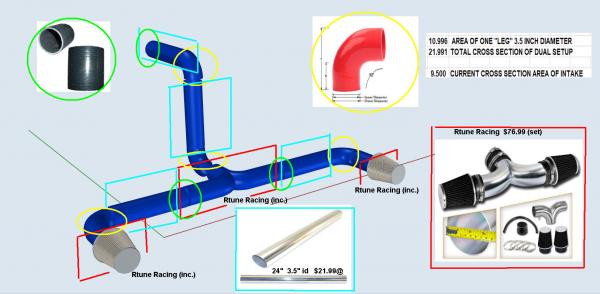
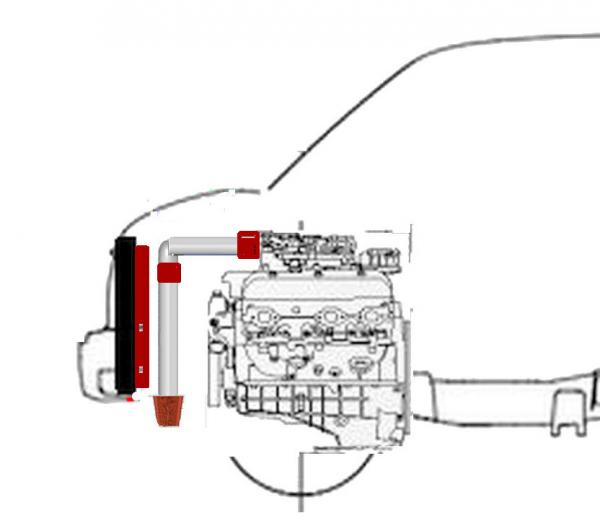
Here are a couple of images of variations I considered.:
and a Quick&Dirty sketch:
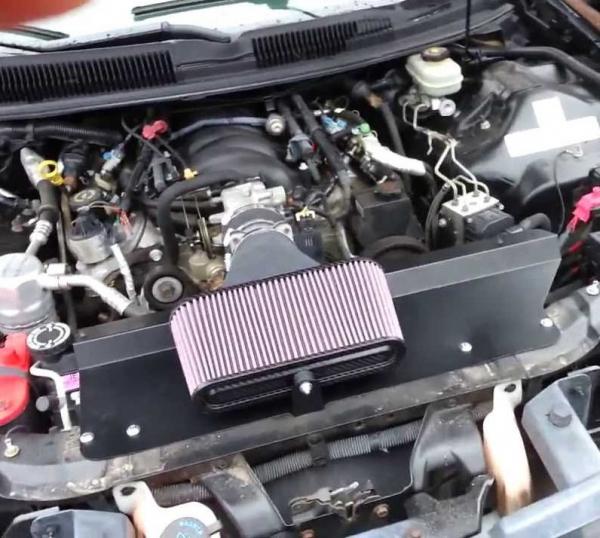
My current iteration is a Short Ram Air Intake.

It has performed well at highway speeds and in snarled beach traffic in summer heat. Yes it is in the engine bay, and there is some residual heating, but the air mass intake is substantially larger than the stock Chevy canister. I am thinking (planning) on an approach to move the filters lower and out of the engine bay. An approach like the Q&D Sketch above. Assembling one of these is relatively simple. Parts from the stock Chevy can be reused, the air intake monitor, hose clamps, etc.
OK, what next? I need to go camping, and finish the race car, and the Ham Radio Rig, and... and...


 Linear Mode


